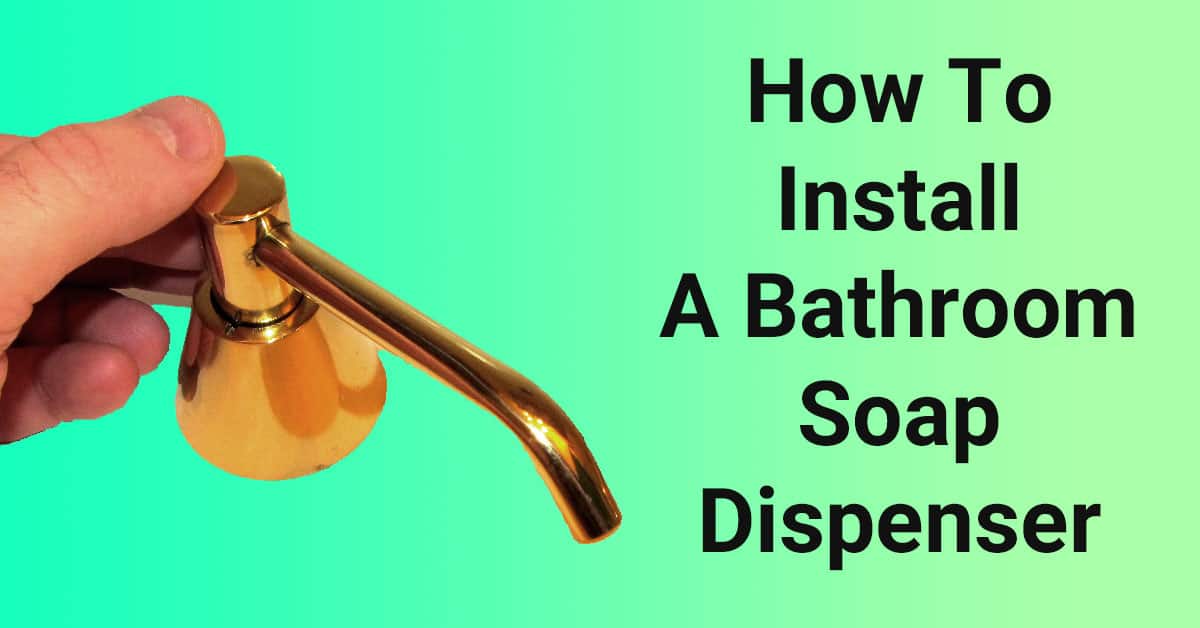
Do you have an ugly bottle of liquid soap sitting on your bathroom sink?
Perhaps you are using one of those mason-jar soap dispensers that will shatter the first time its is dropped on the bathroom floor.
The best, most attractive solution is to install a commercial-grade, built-in, liquid hand soap dispenser.
Why a Commercial Soap Dispenser?
You want to buy a commercial soap dispenser simply because they are more durable and made to last. A lot of people buy those automatic soap dispensers, but they are notoriously unreliable. Also it is just one more battery-operated gadget you have to buy batteries for.
An under-the-counter soap dispenser with a metal pump just looks so much cleaner and professional than a mason-jar soap dispenser or a plastic, battery-operated soap dispenser.
What is the Best Type of Soap Dispenser?
A good hand-operated soap dispenser will have these features:
- ADA Compliant – First, you want to make sure the dispenser you choose is ADA compliant. An ADA-compliant soap dispenser can be operated without tight grasping and the button can be pressed by using no more than 5 pounds of force. Amanda had a traumatic brain injury(TBI) from a car accident. The TBI impacts her hand coordination. An ADA-compliant dispenser was a must-have for us. Even if you don’t have a disability, why not buy one that is easier to use?
- Stainless Steel and Brass Construction – You want the pump, spout, and escutcheon(hole cover) to be made out of stainless steel or brass. These materials won’t corrode from getting wet. You don’t want any cheap plastic materials.
- Uses Your Soap – You should be aware that many commercial soap dispensers can only be used with prepackaged bottles or bags of soap. These cannot be refilled. What you want is a soap dispenser that you can refill with the liquid hand soap of your choice.
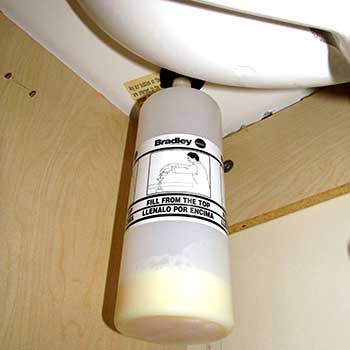
- Refills From The Top – You want a dispenser that refills from above the sink. These are great because you don’t have to worry about dripping messy soap under the sink.
- Large Capacity – Get a large capacity model so that you don’t have to refill so often. You should try to get one with at least a 32oz bottle.
The Hand Soap Dispenser That I Bought
I bought a Bradley 6324. It was available in a polished brass color to match our polished brass faucet. It is ADA compliant, has the metal construction I want, is refillable, and has a 32oz bottle. Bradley makes other versions of this model. Some versions only have a 16oz bottle. Double check that the dispenser you choose has a 32oz soap container.
Soap Dispenser Installation
Installation is relatively simple if you have the proper tools and skills. If you don’t have the proper tools or skills, then you may want call in a professional to do this for you.
The basic installation method is the same whether you are installing a bathroom sink soap dispenser or a kitchen sink soap dispenser. The soap dispenser we installed required a 1″ diameter hole to be cut into the top surface of the sink. Here is a list of tools I would use based on sink material:
Stainless Steel & Cultured Marble
- Better – Klein Tools 31854 Carbide Hole Cutter
- Good – DEWALT D180016IR Hole Saw
Ceramic, Glass, Granite, Marble, & Tile
- Better – Starrett KD0100-N Holesaw with a XA1 Arbor
- Good – Diamond Drill Bit Set
Soap Dispenser Installation
The instructions say you need a 1″ hole for installation. I made my mark where I wanted to bore and went out to the shop to look for a 1″ hole saw.
Well, all I had was a 1 1/8″ hole saw. The only thing I could find was a 1″ spade bit.
I chucked that thing up in my 12 volt cordless drill and went to work.
Let me save you some trouble. That won’t work.
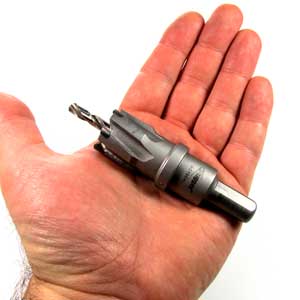
My vanity sink top is made out of cultured marble. It is a man-made material and is like a plastic mixed with rock dust. I needed a different cutter and I needed a drill with more torque. I suddenly remembered that I had a carbide hole cutter that I used a few years ago to cut holes in 1″ thick steel plate. I went and found it and it was 1.0″ diameter! I was in business.
The cutter has a 1/2″ shank so I chucked it up into my Milwaukee Magnum that has a 1/2″ chuck. The cultured marble was no match for this combination and I easily made my hole.
Here are the installation steps I took:
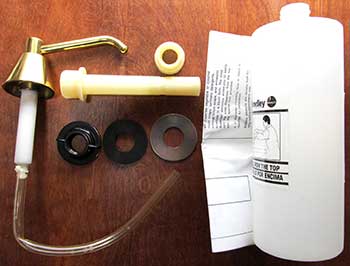
1. Open the Kit
Open your kit and inspect the contents.
2. Make a Hole
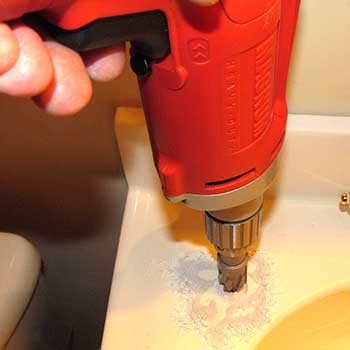
Decide where you want to put the soap dispenser. The one I bought has a 4″ spout, and I decided that I wanted the spout to hang over the basin about 2″. This way any drips would fall down into the basin for easy cleaning. Now mark the location and make your hole using the appropriate tool. I recommend using a heavy-duty drill that has a cord.
If you are using a diamond-grit hole saw, you may want to make a template out of wood to guide the diamond cutter. The template is just a piece of wood with a hole in it that is the same size as your diamond hole saw. The wood template keeps the hole saw from moving around as you get it started. You should buy a standard wood-cutting hole saw to make the hole in the wood template.
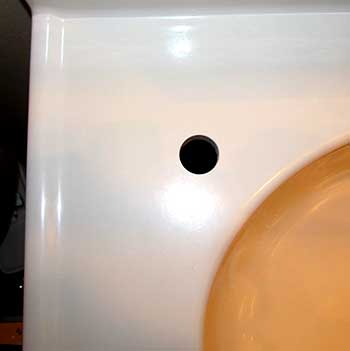
3. Insert the Shank
Insert the shank into the hole. Install both washers and the wing nut. Now take a pencil or marker and mark the shank right next to the wing nut.
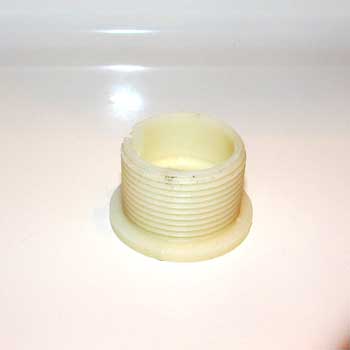
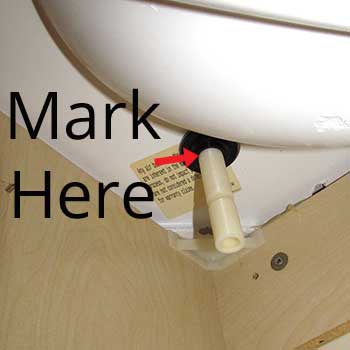
4. Cut the Shank
Make a mark 1″ down from your 1st mark and cut the shank at this 2nd mark. The reason we need to cut the shank is because we want the soap container to be up very close to the underside of the sink basin. If you leave the shank long, then the soap will back-up when you try to refill the soap container.
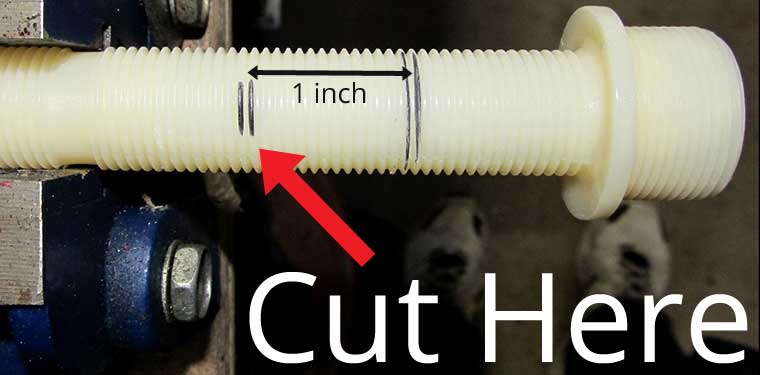
5. Reinstall Shank
Reinstall the shank then put on the neoprene washer, the steel washer, and the wing nut in that order.
6. Install Soap Container
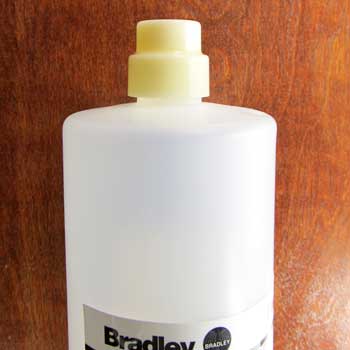
Screw the adaptor onto the soap container. You only need to get it gently hand-tight. Then screw the soap container onto the bottom of the shank. Gently hand-tight is all the force that you need here as well.
7. Fill Soap Dispenser
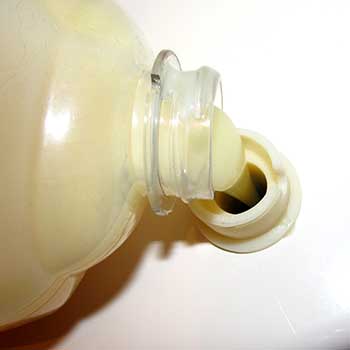
Pour your liquid soap into the dispenser. I found that it is better to do this without a funnel if you can. A funnel just makes the soap back-up and therefore it takes longer. Ordinary liquid soaps can go in undiluted.
8. Attach Supply Tube
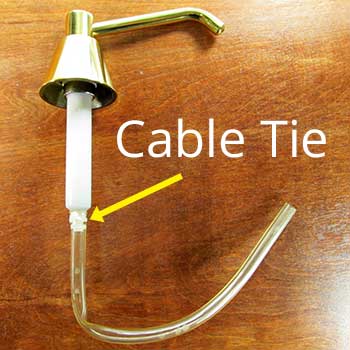
The instructions tell you how to attach the supply tube to the pump cylinder with the provided cable tie. Mine was already attached however. If yours is not, then just install the square-cut end on the cylinder. Make sure you do not install the angled end. Be sure to get the cable tie tightly cinched.
9. Install Plunger Assembly
Now you can insert the plunger assembly down into the soap container. There is no need to worry about the rotation of the spout. It is designed to rotate 360 degrees.
10. Tighten Escutcheon
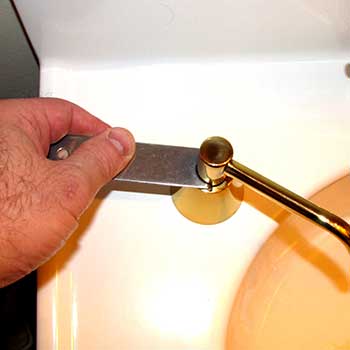
Screw the escutcheon onto the shank and tighten with the provided escutcheon wrench.
Final Thoughts
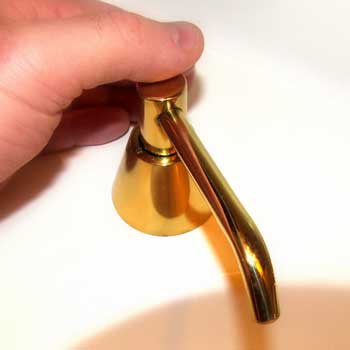
A built-in bathroom soap dispenser is a great upgrade. It is so much better than having an ugly soap bottle sitting on the sink.
It is super for someone with a disability that effects their hand coordination. It works great for Amanda. She no longer has to worry about knocking the soap bottle in the floor or breaking off the pump spout, which used to happen often with the flimsy, plastic soap bottles.

Leave a Reply